Collecting User Feedback via a Chat Interface#
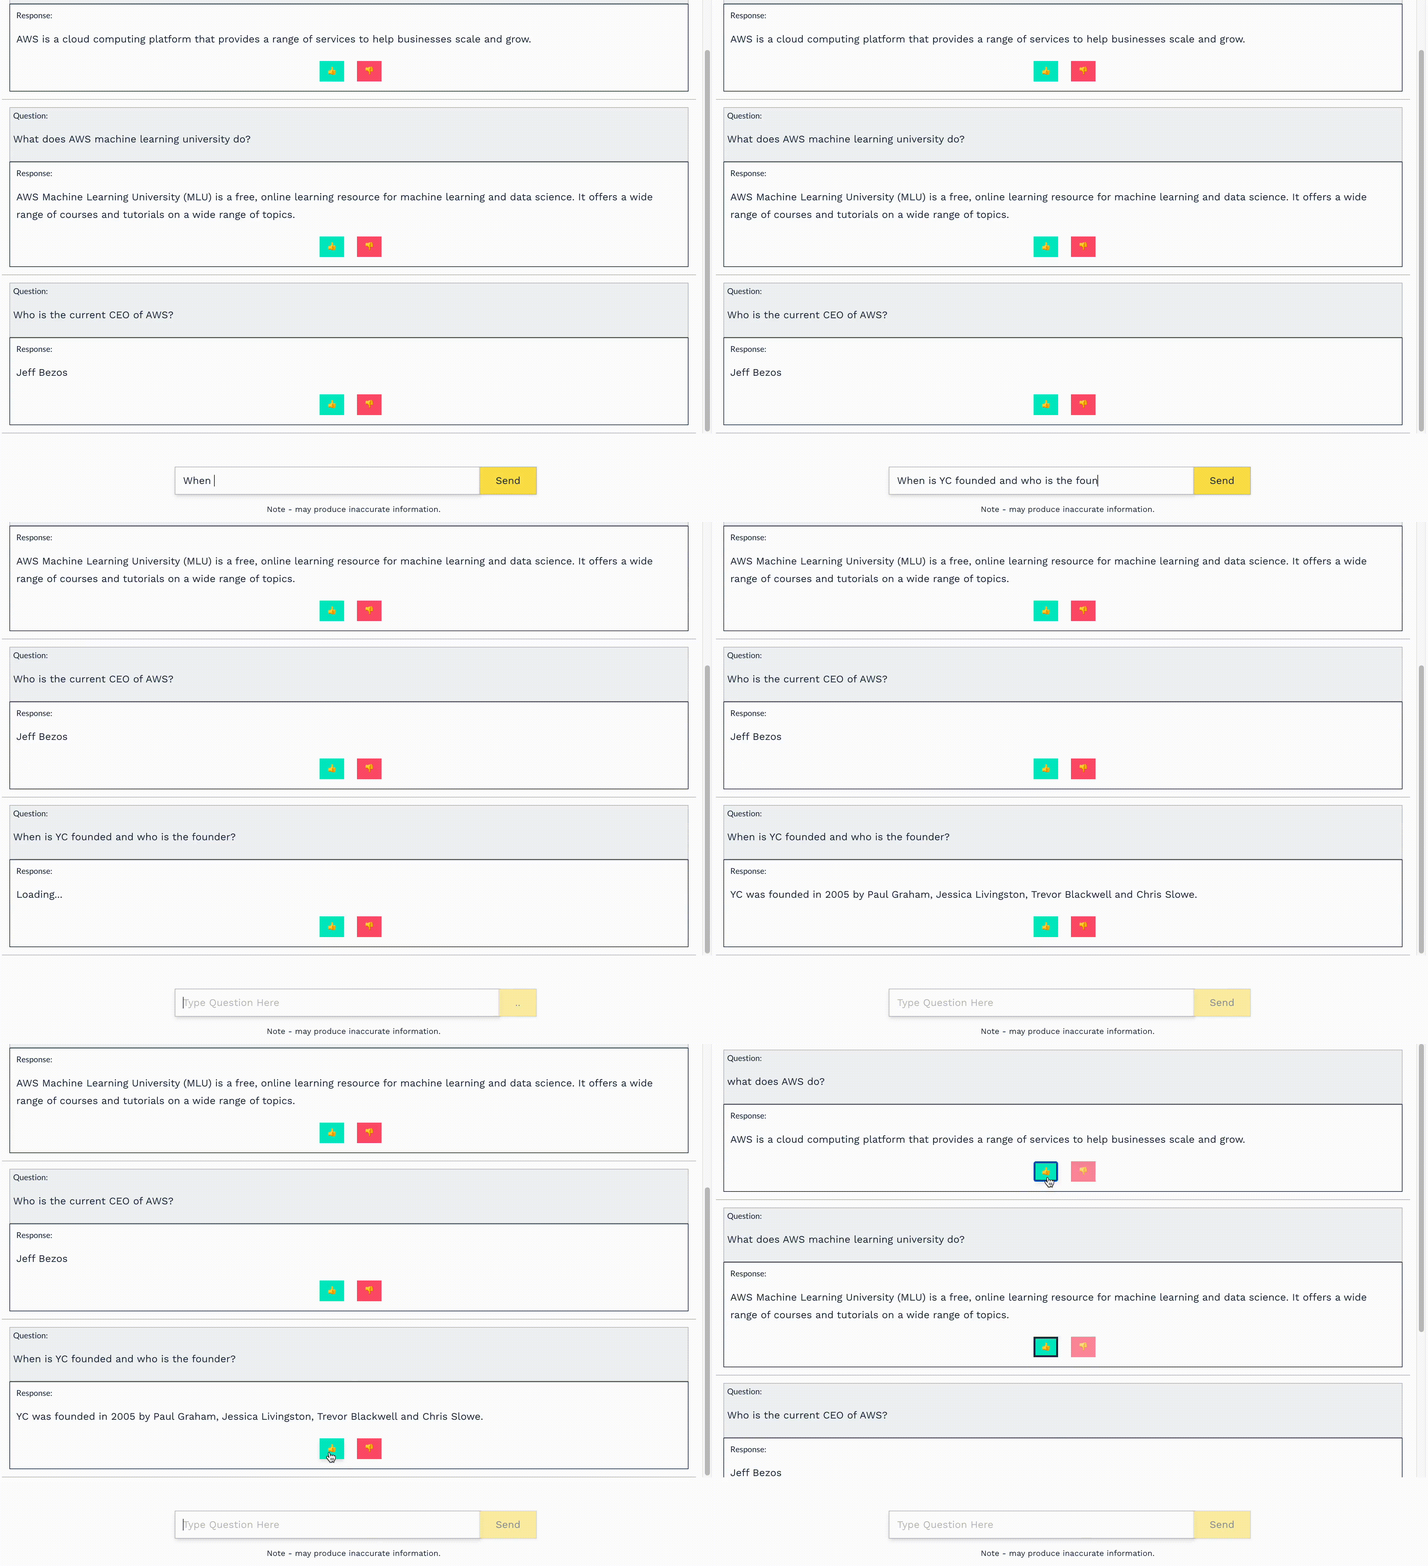
pykoi allows you to easily launch an chat interface and collect feedback on your own finetuned language models:
import pykoi as pk

# assume you have some model, endpoint, or api
model = your_model

# give model chat ui with feedback
chatbot = pk.Chatbot(model)

# Create sharable link to the application
app = pk.Application(debug=False, share=False)
app.add_component(chatbot)
app.run()
This will launch a sharable chat interface to your model.

You can optionally specify feedback that you can use to collect feedback. This will give an updated UI with the provided feedback option. Currently, two feedback options are supported, vote and rank.
...
# add feedback option to model
chatbot = pk.Chatbot(model, feedback='vote')
...
All interaction data and feedback will automatically be collected and stored to a database on the machine that hosted the UI. The data can be easily explored or exported thereafter.
import pykoi as pk

# assume you have some model, endpoint, or api
model = your_model

# add chatbot to model
chatbot = pk.Chatbot(model, feedback='vote')

# analyze chatbot usage & feedback
dashboard = pk.Dashboard(chatbot)

# Create sharable link to the application
app = pk.Application(debug=False, share=False)
app.add_component(chatbot)
app.add_component(dashboard)
app.run()
If you hadd both a pk.Chatbot and pk.Dashboard to the same page, they will render on different tabs.
img
More likely, you want to have a dashboard hidden from the users of your model. In that case, simply launch the dashboard on a different port (it will automatically display the same data used for the hosted chatbot):
...
# analyze chatbot usage & feedback
dashboard = pk.Dashboard(chatbot)

# Create sharable link to the application
app = pk.Application(debug=False, share=False)
app.add_component(dashboard)
app.run()
We believe the process of active learning should be closed loop -
The Problem: In our experience, many developers have a language model that they want to share with users and get active feedback on. However, the current loop requires that developers give users the model, ask them how they feel about it, and then tweak the model on their own.
The Solution: We aim to close this loop with an API that lets users share their model and collect immediate feedback. With pykoi, you can attach a sharable UI on top of your language model that others can use and submit feedback to. This feedback will automatically be stored to a local database. This data can then be used to automatically kick off RLHF, to understand your customers, and more:
Note
If you have a set of pre-defined questions or responses that you’d like to create labeling or annotation tasks for, check out the Data Labeling & Annotation section.
pykoi makes it easy offers a simple and intuitive API for data collection and feedback on your own models.
The process is quite simple. Given some model of your choice (e.g. your own Python class, an api like GPT4 or Claude, or some endpoint), simply wrap the model in To get started, simply upload a model of your choice. This can be any model, we support several options:
Next, to create a sharable Chatbot, import the chatbot model of your choice. We probide a few different feedback options:
Feedback options#
We currently provide two different feedback options: vote and rank.
Vote: The voting UI allows users to upvote or downvote individual model responses.
Rank: The rank feedback option allows users to select (‘rank’) which of two responses is better.
Usage Dashboard#
pykoi comes with a dashboard you can use to automatically understand how users are interacting with your model. This is available via the pk.Dashboard class.
To use it is simple:
By default, pykoi will feed in a single database for all the chatbots and dashboards. To view this, simply open another port and run the dashboard:
If you’d like to experiment with your model yourself and see the chatbot and dashboard in one view, you can simply add both to the page. This will give you a UI with tabs for each UI: